Valves Cleaning
A Guide to Valve Cleaning
Other media that require this level of cleanliness include numerous other pure gases, chlorine, paints and some chemicals. What all this means is that a standard, off-the-shelf valve cannot be used in these media unless it has been properly processed before installation. Decades ago, achieving this degree of cleanliness required the use of vapor degreasing machinery filled with a chlorinated solvent such as trichloroethane. These chemicals worked marvelously to clean, but they have been proved to be carcinogens, so their industrial cleaning usage has all but disappeared. In their place, environmentally friendly aqueous-based cleaners, have become the normal.
Follow the Specs
Even with the use of the right cleaning agent, however, it takes more than a simple “wash behind the ears” to ensure that a valve is clean enough for intended service. This is where cleaning standards and specifications come in. Fortunately, there are very good specifications to guide valve assemblers and technicians in the cleaning process. In fact, the American Society for Testing and Materials (ASTM) has a committee that works solely on specifications for oxygen service applications: Committee G04. This group produces ASTM G93, “Standard Practice for Material and Equipment Used in Oxygen-Enriched Environments,” which is a very thorough document and an excellent reference for valve cleaning procedures.
The Compressed Gas Association (CGA) publishes another often referenced cleaning standard: document CGA G-4.1, “Cleaning Equipment for Oxygen Service.” Many end-users that don’t have their own specific procedure reference the CGA 4.1 standard. The Manufacturers Standardization Society (MSS) also recently created a valve cleaning standard, MSS SP-138-2009, “Quality Standard for Oxygen Cleaning of Valves & Fittings.” This document is derived from many end-user specifications as well as CGA G-4.1. For chlorine service cleaning, the Chlorine Institute references cleaning procedures in its document: “Piping Systems for Dry Chlorine.”
The common denominator for all the cleaning standards is removal of all traces of oils, grease, dirt and other contaminants. The methods prescribed include scrubbing, ultrasonic cleaning, pressure blasting and sand blasting.
Rust Elimination
One important issue in cleaning is the presence of rust on carbon steel components after cleaning. With any of the prescribed cleaning processes, the protective film or rust preventative on the steel is removed, which exposes the metal to rapid oxidation, a problem that is particularly acute in humid environments. In many cases, a light blush of rust is acceptable, but gross deposits would not be. As a result, cleaning may need to be performed in a non-humid area. Additionally, carbon steel valves and components that have been cleaned require some form of corrosion protection—either desiccant bags inserted in the valve bore or an exterior wrapping with vapor phase inhibitor paper, or both.
After valves have been carefully cleaned and checked for proper cleanliness, they are usually put in protective heavy-gauge plastic bags to ensure they stay clean until installation.
Cleaning of valves is a straight-forward process that requires some diligence and quality control. However, guidance is available from various standards and specifications. Also, since the valves must be disassembled for most cleaning procedures, it’s important that the personnel involved be familiar with proper disassembly and re-assembly of the valves to be cleaned.
Cryogenic Valves Special Cleaning and Concerns
Cryogenic valves require special cleaning and degreasing by the valve manufacturer. This is accomplished with special solvents to degrease and remove any organic contaminants, and often by using ultrasonic cleaning solutions. Some services like oxygen or chlorine service require very high levels of cleanliness to insure that no organic materials or lint fibers are present after cleaning. Properly cleaned and certified valves are placed in double sealed polyethylene bags to insure that the valve remains cleaned until it is time to install the valve.
Operators should always thoroughly inspect cryogenic valves before installing them. This is critical to ensure that no oil or grease has been accidentally introduced into the valve. Some specialized lubricants are approved for oxygen service; their presence may be allowable, but this varies by application.
As mentioned earlier, cryogenic valves must also be kept free of lint. Generally speaking fibers greater than 1/8” in length are not allowed to be present in the cleaned valve. In many cases, absolutely no fibers or lint can are allowed to be present regardless of length. Debris like this can prove dangerous in oxygen systems. Many industry professionals utilize blacklight testing to help detect fibers.
Finally, inspectors must regularly check cryogenic valves and oxygen systems for both internal and external leakage. Internally, leakage can be prevented by ensuring that the proper valve is in place and that it has a well proven sealing design. Cryogenic conditions in particular require robust seals to boost longevity. External leakage is also a significant concern. Often times weld end designs are required. These can be in the form of butt weld ends or socket weld ends on the valves.
High Pressure Valve Maintenance Guide
Inspection
Perhaps the most important maintenance action is routine inspection. This is your means to identify any potential issues with the valve.
The inspection interval depends on a number of different factors. How often is the system operated? How much pressure is on the valve?
Evaluate the component for wear and tear and signs of foreign debris. Also check to verify that any strainers or plugged fittings are not clogged or blocked.
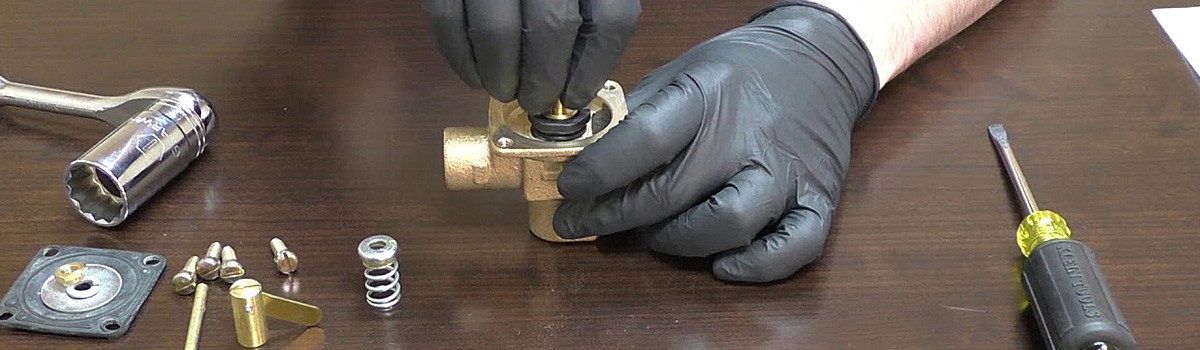
Dismantling the Valve
You will need to dismantle the valve to perform a thorough evaluation. This is a multi-step process that is not difficult.
First, relieve all pressure on the valve. Now you can remove the valve from the system it belongs to.
The next step is to open the valve stem. Next, you will need to loosen up the locking device known as the packing gland. By performing these steps, you are ready to perform an inspection, adjustment, or replacement action.
Adjustment
In some cases, the valve simply requires a minor adjustment. This occurs by tightening the packing gland to the specified torque value.
The manufacturer typically provides the required torque values. They can be found online or in a technical manual.
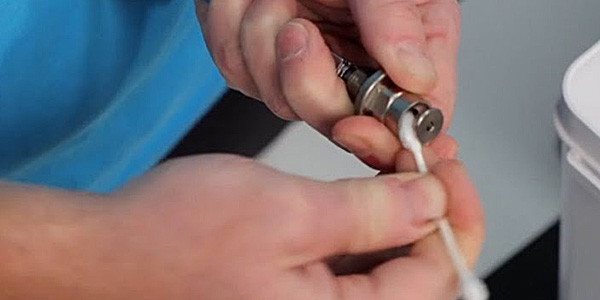
Cleaning and Lubrication
The valve stem is one of the most important subcomponents. If it is not moving freely, it requires cleaning and lubrication.
You should also remove any scale or residue buildup. Finally, if any external hardware is worn out, it should be replaced.
Replacement
If the valve is damaged beyond repair, it will need to be replaced. Instead of loosening the packing gland, you will need to remove it entirely. This step includes removing the valve stem.
Next, you will replace the stem and packing gland. Make certain to insert packing washers into the valve body. Like the adjustment task, you will also need to tighten the packing gland to the specified torque.
A Recap of High Pressure Valve Maintenance
While seemingly a minor part, a valve failure can create major problems. Performing maintenance actions like routine inspection and adjustment go a long way.